
Review · LAKE DISTRICT
Pucón: Ascent to Villarrica Volcano
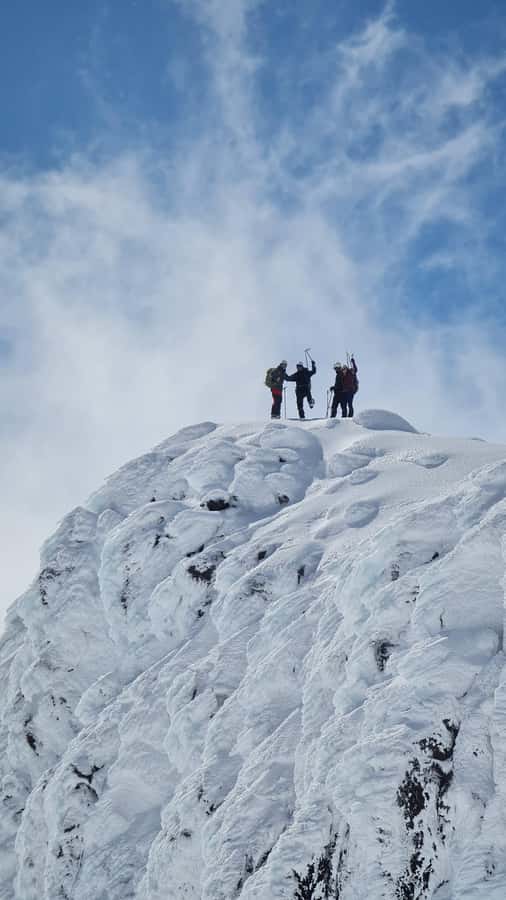
Villarrica climbs fast and feels wild. I love the strong safety focus with certified guides, and I love that you’re equipped with crampons and an ice ax for the icy approach. The one drawback to plan for is the effort, the altitude, and the fact that this climb depends on weather and conditions that day.
You start early, meeting at Terravolcano around 6:00 am for gear and prep, then drive about 30 minutes to Villarrica National Park. After a short safety briefing, you hike at a constant pace, with big views over Pucón and the lakes and volcanoes around you.
A big payoff comes near the glacier near the summit, where you use the technical gear with guidance. Then you reach the top at 2,848 meters, take in the crater, and descend. Depending on the season, you might slide on snow, then finish back at the office with cold beers in summer or hot chocolate in winter.
In This Review
- Key Things That Make This Villarrica Ascent Worth Your Day
- From Terravolcano Office to Villarrica National Park, the Day Starts Moving
- Gear That Actually Matches the Volcano, Not Just a Trail
- The Hike Up: Constant Pace, Big Views, and Icy Training Near the Glacier
- Summit at 2,848 Meters: Crater Views, Lava Possibilities, and Photo Time
- The Descent Choice: Snow Slides in Cool Months, Foot Down in Summer
- Price and Value: What You Pay For Beyond the View
- Who This Volcano Ascent Fits Best, and Who Should Skip It
- Quick, Practical Tips to Make Your Summit Day Smoother
- Should You Book This Villarrica Ascent?
- FAQ
- What time does the tour start?
- How long is the activity?
- Where is the meeting point?
- What gear is included?
- What does the tour include regarding access and transport?
- Do you reach the summit, and what height is it?
- How does the descent work?
- What languages are offered by the guide?
- What should I bring, and what is not included?
Key Things That Make This Villarrica Ascent Worth Your Day
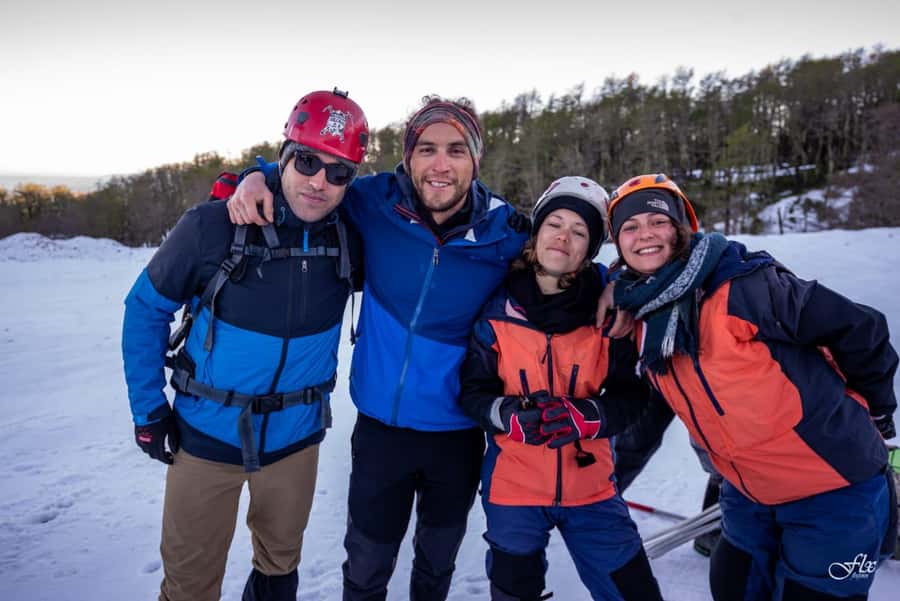
- Certified guides who teach the technical part: You get hands-on help with crampons and ice axe use, including self-arrest technique.
- Real crater-and-geology time at the summit: You’re not just passing through, you’re there long enough to look into the crater and take photos.
- Seasonal descent can be genuinely fun: Winter, autumn, and spring often mean snow slides, while summer means hiking down on foot.
- Early start helps you catch clear views: You’re moving before the heat and wind can turn things messy.
- Gear and insurance are part of the package: Helmet, jacket, trekking poles, and activity insurance are included, so you travel lighter.
- The pace is controlled on purpose: The hike moves steadily, and guides can manage how the group spreads out.
More of Pucon, the volcano and the hot springs behind it
- Tour to Huilo Huilo from Pucón, Villarrica
★ 5.0 · 51 reviews
From Terravolcano Office to Villarrica National Park, the Day Starts Moving
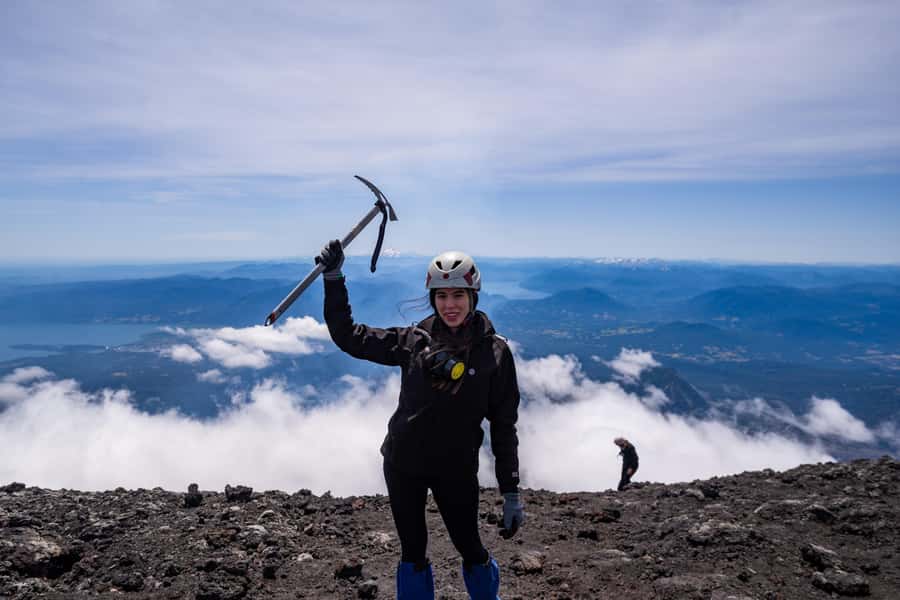
The day begins with a 6:00 am start at the Terravolcano office in Pucón, at Av. Bernardo O’Higgins 717, local 4, Bulevar Patagonia. You’ll get outfitted before the van ride, so you’re not trying to guess what size gear fits or what cold-weather layers will work.
The drive to the national park base is about 30 minutes. Once you arrive, you get a safety briefing before you step onto the trail, and that short chunk of time matters because this is not a casual hike. You’ll be dealing with cold, wind, steep ground, and later, icy sections.
Right from the start, you’re setting expectations for a full day. The pace is described as constant, which usually means you should expect a steady climb rather than frequent stops for regrouping. If you like rhythm hiking, this style is your friend.
Also note the weather reality. The ascent depends on conditions, and the weather is checked both the day before and at the time of the activity. Translation: if conditions are worse than planned, the plan can shift to match safety needs.
Gear That Actually Matches the Volcano, Not Just a Trail
I like that the kit is more than a helmet and vibes. You’re provided with technical climbing essentials like crampons, an ice ax, and trouser covers, plus a windproof jacket and gloves. That lowers the chance you show up with the wrong shoes or skip the gear you think you can rent later.
You also get trekking sticks, a backpack, and “mountain footwear” guidance through what’s provided. You still need to bring your own layers, because cold and wind near the glacier can be the difference between comfortable and miserable.
Here’s the part you should not ignore: you must come to the office one day before the activity to test the equipment. That is a smart move for this kind of climb, because it reduces the chance of scrambling while you’re cold and tired. Plan your day around that equipment check, not around extra sightseeing.
What to bring is spelled out pretty clearly, and I agree with the logic behind it. Bring warm clothing, long-sleeved shirts, socks, hiking pants, sunglasses, and sunscreen. I also recommend treating the smartphone as essential gear since you’ll want it charged for summit photos and crater views.
Water and food are your responsibility. Two liters of water is specifically called out as not included, and there’s no meal provided. A snack you can nibble during the climb helps, and it’s smart to pack something that won’t freeze instantly.
The Hike Up: Constant Pace, Big Views, and Icy Training Near the Glacier
Once the hike starts, you move for about 6 hours inside Villarrica National Park. You’ll walk at a constant pace designed to let you actually enjoy the scenery, not just grind through it. That matters because the route offers panoramic views toward Pucón, the volcanoes, and the lakes in the region.
Early on, the views are your motivation. This is the kind of climb where you can look back and see the town spreading below, and it keeps the effort from feeling purely mechanical.
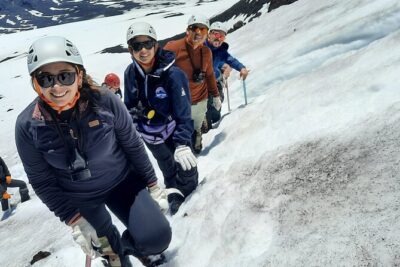
Then comes the part that makes Villarrica different from a standard trek. Near the glacier close to the summit, you switch into technical mode. You use crampons and an ice ax, and your guides coach you on how to handle them.
In practice, this is where the best guides shine. They help you feel stable on steep, icy ground and teach you self-arrest. That last detail is important, not dramatic. It’s how you reduce risk if you slip, and it gives you confidence to keep moving.
The climb gain is significant, and the plan includes a photo stop of around 10 minutes. I like having a short moment for photos that is scheduled, because it keeps you from stopping randomly and losing your rhythm.
If you’re thinking about the early start and summit timing, keep in mind that sunrise can happen depending on season and conditions. The route is often timed so you’re not hiking in total darkness, but you still need to be ready for cold.
Summit at 2,848 Meters: Crater Views, Lava Possibilities, and Photo Time
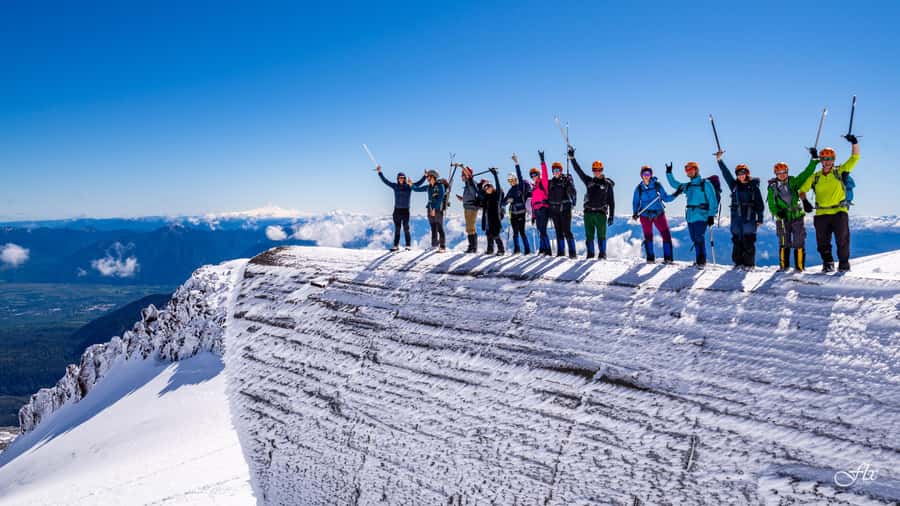
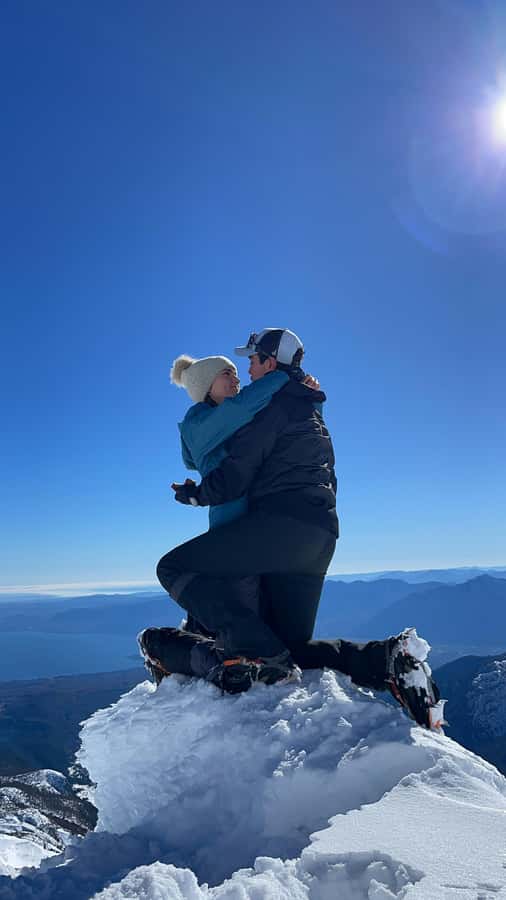
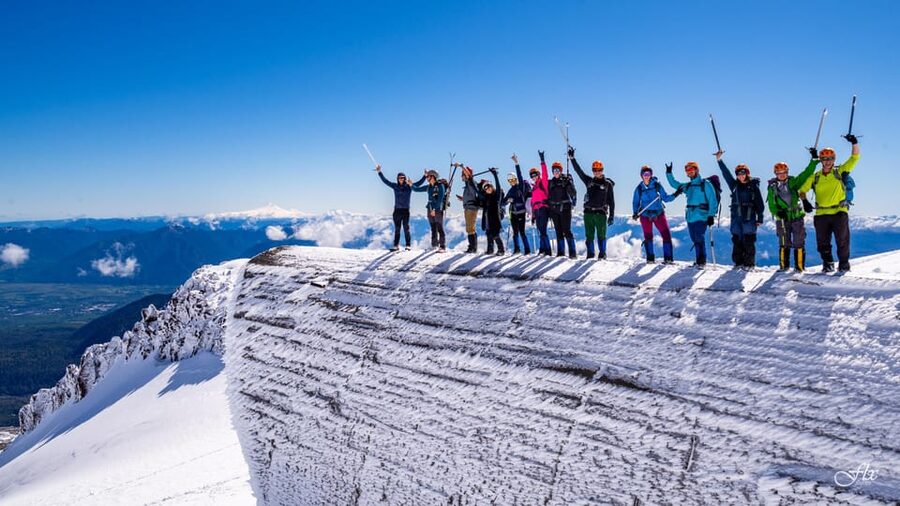
After 5 to 6 hours of climbing, you reach the summit at 2,848 meters above sea level. This is the headline moment, but what you do up top is the real value.
You’ll get time to contemplate the center of the crater and see the geological formation around it. And depending on volcanic activity, you might be able to see lava inside the crater. That is not guaranteed, and you should treat it like an exciting bonus rather than the promise.
The crater is also where wind can hit hardest. Your guides will manage the timing of how long you linger, so follow their cues even if you want one more photo. I’d rather you leave wanting an extra look than pushing your luck in strong gusts.
Photo time is built into the experience. You’ll have a chance to capture memories, but don’t overpack your mind with one perfect shot. On a summit, safety and awareness come first, and the views reward calm patience.
The Descent Choice: Snow Slides in Cool Months, Foot Down in Summer
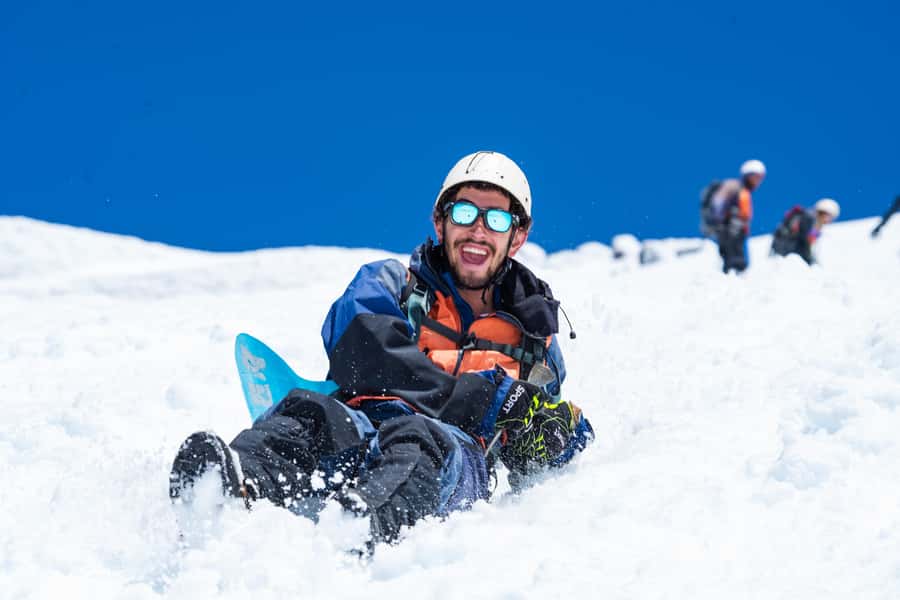
Descent is usually where people feel the climb catch up. Here, you’re given a seasonal option that can make the second half more memorable than you expect.
In winter, autumn, and spring, you’ll slide down snow slides. The idea is simple: use the winter terrain rather than fighting it step by step. If you’re nervous about steep ground, sliding can feel like a controlled way to come down faster.
In summer, you descend on foot. That means you still get views, but your legs do more work. Either way, the descent back to the base takes about 2 to 4 hours.
This is also when your gear setup matters. If your gloves fit well, your layers are correct, and your footing is steady, the descent feels like progress instead of punishment.
When you reach the bottom, transportation waits to take you back to Pucón. The finish is not just logistical. You return to the office for a celebratory drink, with cold beers in summer and hot chocolate in winter. Some groups may also see additional snacks like fruit and juice, and you might even get local spirits served depending on timing and group setup, but the cold or warm drink is the reliable part.
Price and Value: What You Pay For Beyond the View
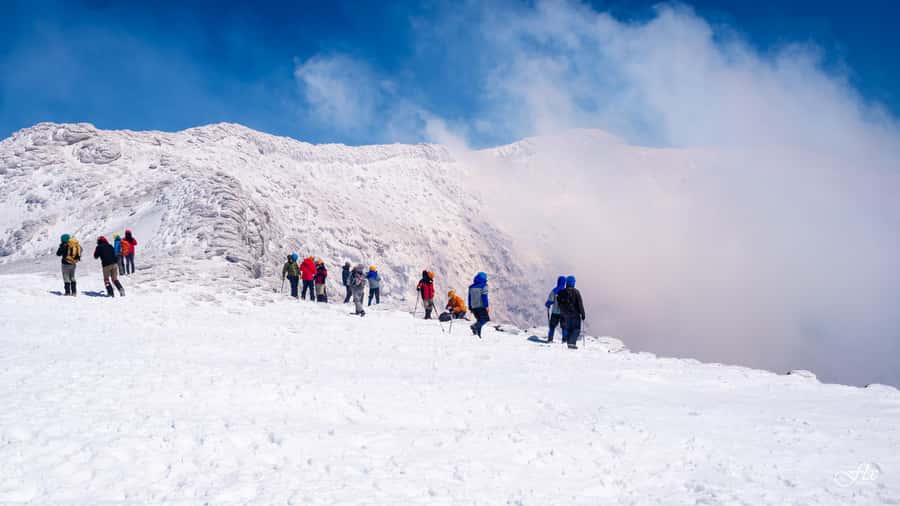
The price is listed as $185 per person, and for a volcano ascent this is not just about scenery. You’re paying for the guided risk management, the gear, the park entrance, and the insurance.
Think about what’s included. You get helmet, backpack, mountain footwear, crampons, ice ax, trouser covers, windproof jacket, gloves, and trekking sticks. You also get transport to and from the park and entrance to Villarrica National Park. On top of that, there’s a certified guide and activity insurance.
That combination is where the value usually shows up. If you had to rent crampons and an ice ax, buy a windproof jacket, and hire a guide, the cost adds up fast. Here, you’re getting a structured day with the gear that matches the route, not a half-matched system.
Duration is about 510 minutes, which is roughly 8.5 hours. That includes early prep, the drive, the climb, a photo moment, and the descent plus return. For many people, it’s a full day that replaces multiple separate planning tasks.
The rating is strong, sitting at 4.9 based on 16 ratings. That doesn’t guarantee a perfect day, but it is a signal that people generally feel the organization is solid and the guides do a good job with both safety and pace.
Who This Volcano Ascent Fits Best, and Who Should Skip It
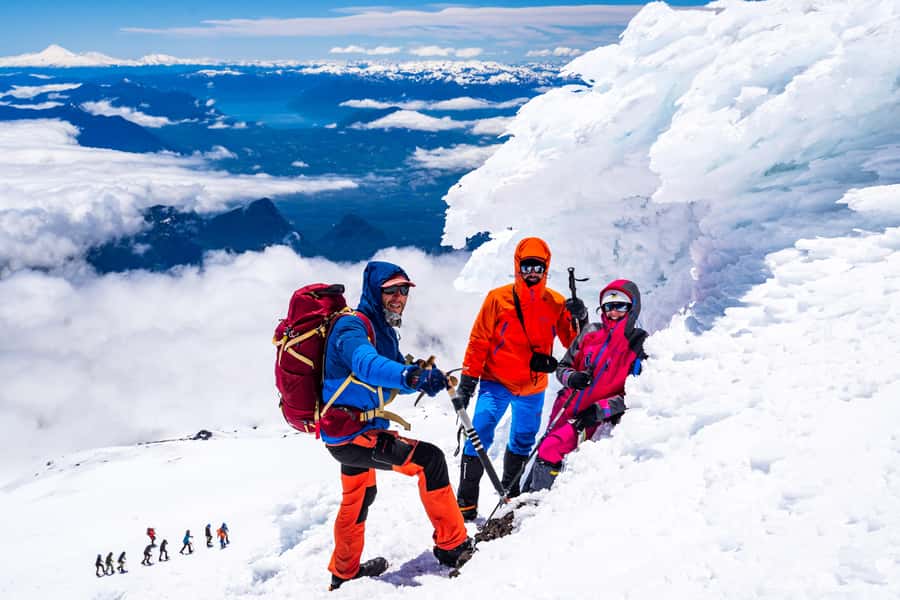
This is best for people who can handle a strenuous hike and don’t mind cold, wind, and technical terrain. You should feel comfortable hiking for hours, standing still when it’s cold on an icy surface, and following safety instructions closely.
It is not suitable for pregnant women, people with vertigo, children under 18, people with respiratory issues, anyone with altitude sickness, and people with recent surgeries. If any of those apply, don’t try to bargain with the mountain. This climb is built around conditions that can become intense fast.
Also consider comfort with technical gear. You will use crampons and an ice ax, and you need to be willing to learn how to self-arrest. If you freeze at the first sign of discomfort, you may struggle more than you expect. But if you stay coachable, the guidance is part of what makes the climb doable.
If you’re a group traveler, this can be nice because guides manage pacing. One thing that’s helpful is that groups can split naturally into smaller pacing lines, depending on how the day and group energy feels. It keeps everyone from constantly waiting, while still staying together.
Language options include English, French, and Portuguese, which helps if your Spanish is limited. You’ll get live interpretation from the guide.
Quick, Practical Tips to Make Your Summit Day Smoother
Here are the small choices that make a big difference on Villarrica.
- Pack for layers. Warm clothing plus a windproof layer matters once you hit exposed areas.
- Bring sunglasses and sunscreen. Even when it feels cold, sun can still bite.
- Bring water and food for the day. The climb is long and you need calories and hydration.
- Test your gear the day before if you can. It’s required for equipment testing.
- Keep your smartphone charged. Summit photos are part of the experience, and cold drains batteries fast.
One more practical note: follow the rules. Smoking, intoxication, alcohol and drugs, and littering are not allowed. Unaccompanied minors are also not allowed, so go with an appropriate adult structure if you have a youth in your group.
Should You Book This Villarrica Ascent?
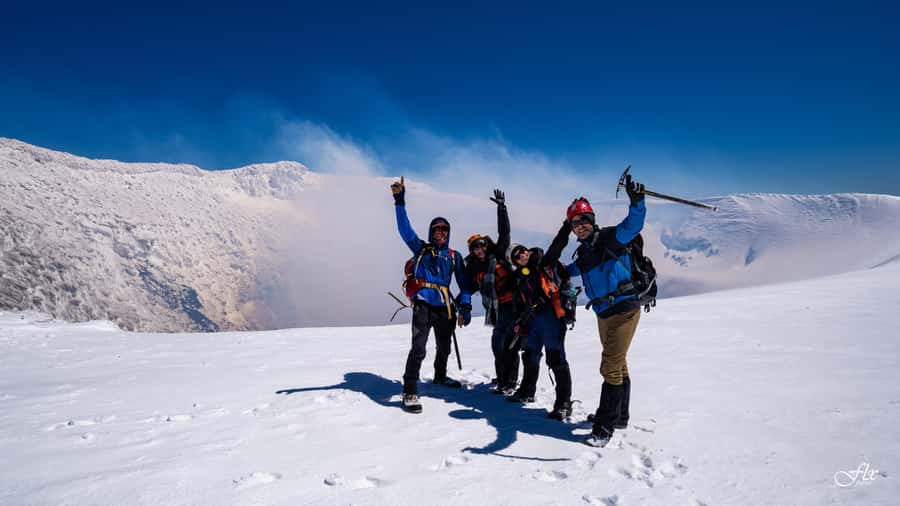
I’d book this if you want a guided volcano day that handles gear and safety for you, and you’re excited by the technical glacier section. The combination of certified guidance, crampon and ice ax support, and real summit crater time is what makes this more than a long hike.
Skip it if you know you cannot handle steep climbing, cold wind, or technical footing. And if altitude concerns are already on your radar, take that seriously and choose a lower-elevation option instead.
If you want a strong chance of a memorable finish, plan your packing carefully, show up for the equipment test, and treat the summit as a safety-first moment. Do those things and you’ll come away with one of the more dramatic experiences you can have from Pucón.
FAQ
What time does the tour start?
The experience starts at 6:00 am in the office for equipment and preparation.
How long is the activity?
The total duration is about 510 minutes, roughly 8.5 hours.
Where is the meeting point?
Meet at Terravolcano Agency at Av. Bernardo O’Higgins 717, local 4, Bulevar Patagonia.
What gear is included?
Helmet, backpack, mountain footwear, crampons, ice ax, trouser cover, windproof jacket, trekking sticks, and gloves are included.
What does the tour include regarding access and transport?
Transport is included, along with entrance to Villarrica National Park. You also skip the ticket line.
Do you reach the summit, and what height is it?
Yes. The summit is reached at 2,848 meters above sea level after about 5 to 6 hours of climbing.
How does the descent work?
In winter, autumn, and spring, you slide down snow slides. In summer, you descend on foot. The return to the base takes about 2 to 4 hours.
What languages are offered by the guide?
The live tour guide is available in English, French, and Portuguese.
What should I bring, and what is not included?
Bring warm clothing, sunglasses, sunscreen, food and drinks, and water (2 liters is recommended since it is not included), plus hiking pants and a charged smartphone.
Everything Else We Have Reviewed In Chile
Around Pucon And The Villarrica Cone
Not quite it? Here is the rest of what we have reviewed around Chile
More in Pucón & Villarrica Volcano.
 ★ 4.8Villarrica Volcano ClimbFrom $190191 reviews
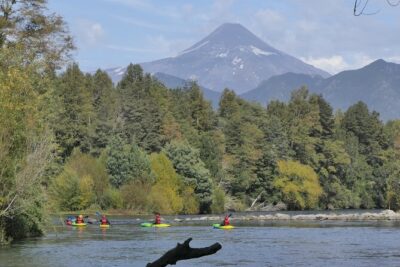 ★ 5.0Guided Kayak Trip on Liucura RiverFrom $7587 reviews
 ★ 5.0Full Day Mountaineering to Villarrica Volcano from PucónFrom $19462 reviews
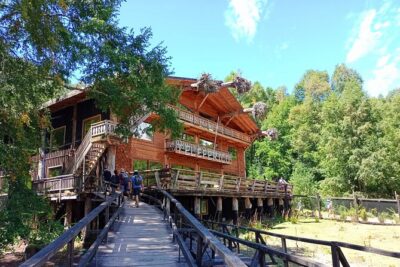 ★ 5.0Tour to Huilo Huilo from Pucón, VillarricaFrom $10051 reviews
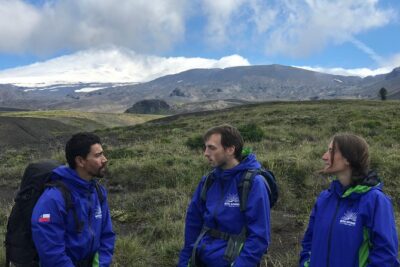 ★ 5.0Trekking Mirador el volcano + Geometric hot springsFrom $19538 reviews
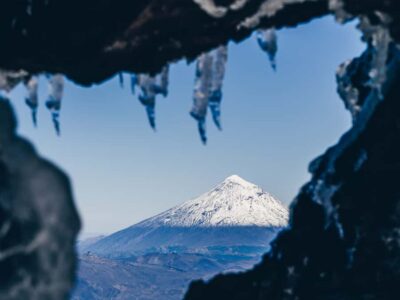 ★ 4.8Ascent to Villarrica volcano 2,847masl, from PucónFrom $18536 reviews
 ★ 4.3Geometric Hot SpringsFrom $13320 reviews
 ★ 4.0TOUR AROUND THE AREA WITH THERMAL BATHSFrom $958 reviews
Browse the lists this tour appears in